We use cookies to make your experience better. To comply with the new e-Privacy directive, we need to ask for your consent to set the cookies. Learn more.
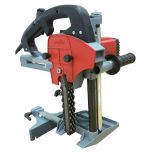
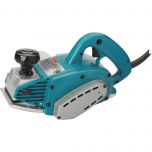
Makita 7104L Chain Mortiser
- It sure beats drilling and chiseling!
- Choice of chains between 9/16" and 15/16" in width
- Plunges up to 7-1/8" deep
Download 7104L Instruction Manual
FREE GROUND SHIPPING in the Contiguous 48 States!
As low as
$2,989.00
Only %1 left
SKU
7104L
Makita 7104L Chain Mortiser is available to buy in increments of 1
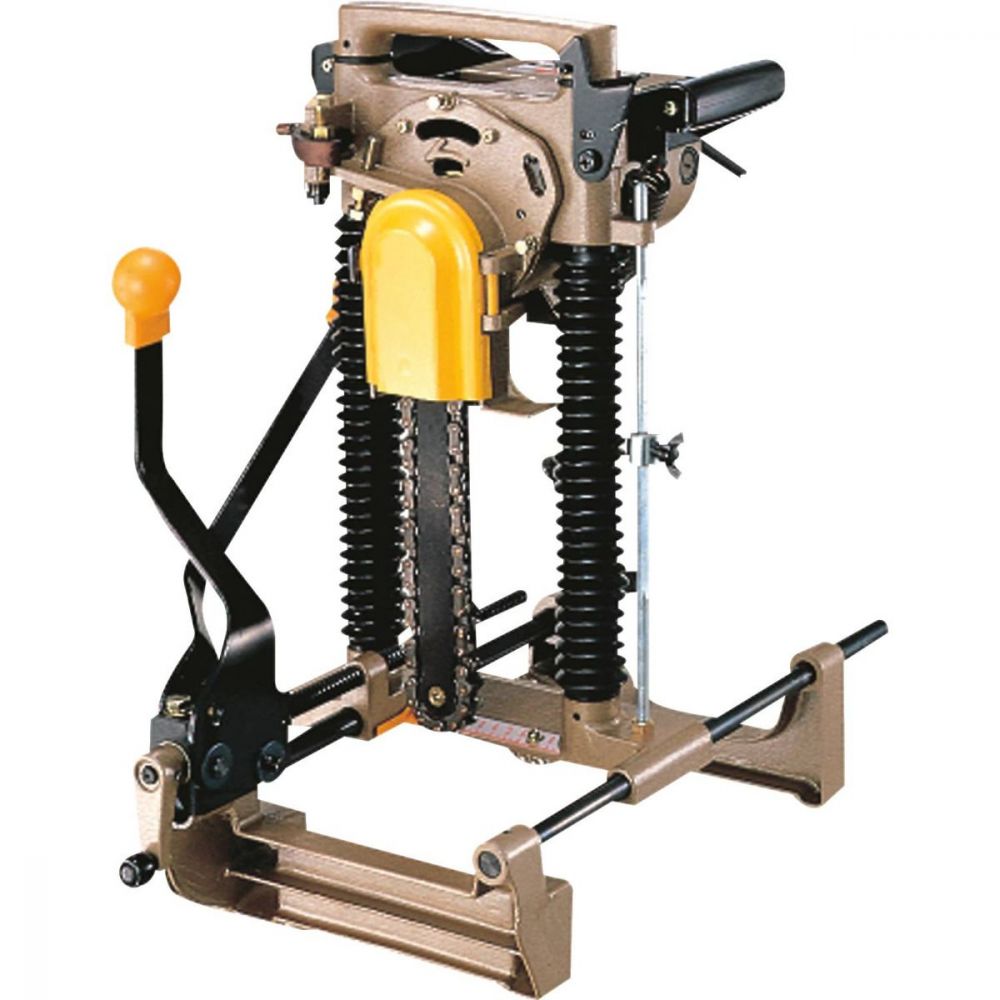

Able to cut mortises both quickly and accurately, the durable Makita 7104L chain mortiser makes fast work of mortising with a head that pivots to three plunge positions. This is the ideal tool for small to medium size timber frame companies, while being simple enough to operate for the "do-it-yourself" home builders.
The chain mortiser can plunge down a full 7-1/8". One can make through mortises on large timbers by laying out and cutting from both sides of the timber. The 7104L will also cut up to 5-1/8" long by 7-1/4" wide mortises without repositioning the mortiser.
Specifications
| Mortising depth: | 7-1/8" |
|---|---|
| Mortising width: | 1-15/16" by 9/16" to 15/16" |
| Clamp capacity: | 3-1/8" to 12-1/8" |
| Nominal speed - no load: | 3,200 rpm |
| Motor: | 120 V |
| Current: | 10.5 A |
| Weight: | 38 lbs |
Standard Equipment
- Chain
- Wrench
- Chain Bar Oil
- 15.3 ft Cord
Frequently Asked Questions
Shawn Tuttle
Precision Sharpening Inc.
3018 Princeton Drive NE
Albuquerque, NM 87107
505-884-8229
Kyle Murphy
Mortise Sharp
P.O. Box 1055
Madison Heights, VA 24572
207-577-3391
Precision Sharpening Inc.
3018 Princeton Drive NE
Albuquerque, NM 87107
505-884-8229
Kyle Murphy
Mortise Sharp
P.O. Box 1055
Madison Heights, VA 24572
207-577-3391
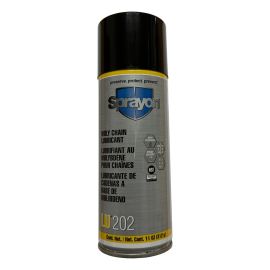
Most 7104L users lubricate their chains with WD-40 or LU202 Spray every 30 to 60 minutes of use
Barr Specialty Tools
P.O. Box 4335
McCall, ID 83638
800-235-4452
Lie-Nielsen Toolworks
P.O. Box 9
Warren, ME 04864
800-327-2520
P.O. Box 4335
McCall, ID 83638
800-235-4452
Lie-Nielsen Toolworks
P.O. Box 9
Warren, ME 04864
800-327-2520
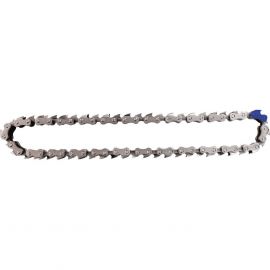
Accessories
- Various replacement chains are available below
- 85% of 7104L customers prefer the 18mm Chain because larger chains plunge slower and smaller chains require additional plunges
Write Your Own Review
Related Products


SAME DAY SHIPPING
On Ground & Express orders placed before 3pm Eastern
QUALITY PACKAGING
Tools reinforced or double-boxed to arrive in perfect condition
LIVE PRODUCT ADVICE
Product experts available via phone/email 9am – 6pm Eastern
Customers Also Considered...